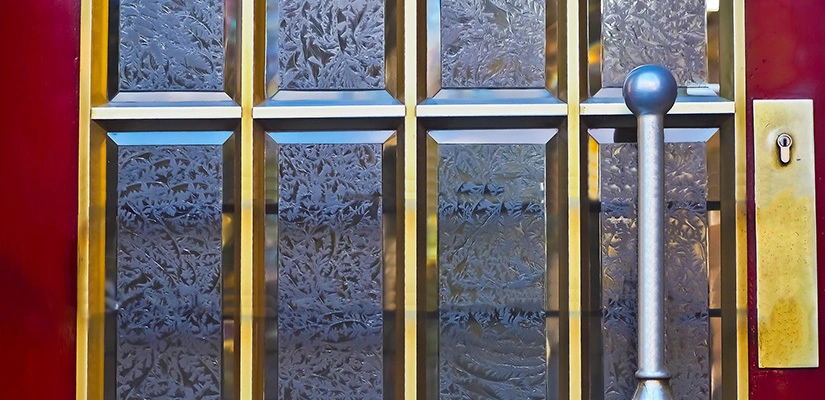
Glass Doctor explains how to etch glass for personalized designs.
|
Did you just run across beautiful glass cups, jars, bottles, or vases at the dollar store? They're cute as-is, but etching is an easy way to add unique and custom designs to your glassware. With this tutorial from Glass Doctor®, you'll learn how to etch glass in no time at all.
Materials for Etching Glass
- Glass object
- Stick-on stencils (masking tape, three-hole paper reinforcers, contact paper, etc.)
- Utility knife (optional)
- Stencil cutting machine (optional)
- Gloves and a long-sleeved shirt
- Etching cream
- Paintbrush
- Sponge
How to Do Glass Etching
- Clean the glass. Make sure all dust, fingerprints, and sticky spots are removed.
- Come up with a design. If you want to add stripes, all you need is masking tape. For polka dots, use adhesive three-hole paper reinforcers. You can also cut monograms, phrases, geometric shapes, leaves, hearts, or any other pattern out of contact paper with a utility knife. If you have a stencil cutting machine, you have even more options with no artistic skill or steady hand required. You can also find stick-on stencils at craft stores.
- Adhere the stencil to the glass. Choose a location on the glass surface to stick the stencil. Rub it with your fingers to make sure it's securely in place.
- Protect your skin. Etching cream is acidic, so you want to don skin protection before opening the bottle. Put on plastic or latex gloves and an old long-sleeved shirt. Also, be sure to work in a well-ventilated area with the windows open or an exhaust fan running.
- Apply the etching cream. Dip an old paintbrush into a bottle of etching cream and apply it liberally to your stenciled design. Be careful not to spill the bottle because the cream will permanently etch any surface it touches. Rinse the brush with tap water when you're done so you can use it again on future glass-etching projects.
- Let the cream etch the glass for the amount of time described in the instructions. Anywhere from two to five minutes is typical.
- Rinse the cream off in the kitchen sink. Dampen a sponge and rub the stenciled area to remove any residual cream from the glass.
- Peel off the stencil and give the glass a final cleaning with the sponge to remove any sticky residue. Be aware that you won't be able to see the etching clearly until the glass dries.
If you're happy with the results of your etched glass project, you'll love the custom glass solutions available from Glass Doctor®. We design and install etched glass front doors and window panels to increase the beauty and privacy of your entryway. To learn more, please contact us today!

